
Adda247 · EdTech
Studio App for Smart Boards
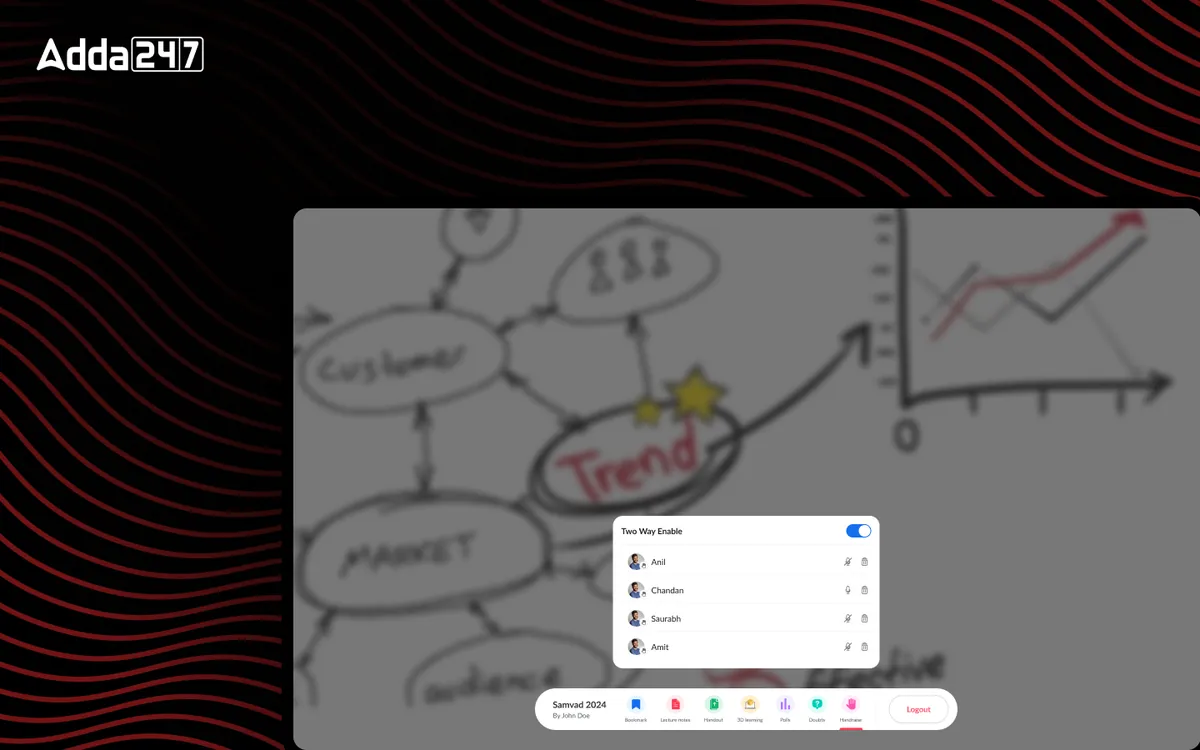
In-house application enhancing teaching workflows with smart board tools — enabling recording, annotation, and seamless content sharing.
Overview
The Challenge & Opportunity
Adda 247's classroom studios were equipped with smart boards, but teachers were barely using them beyond basic whiteboard functionality. The potential of these expensive devices was being wasted because the existing software was generic, designed for corporate presentations rather than teaching workflows. We designed a purpose-built Studio App that transforms smart boards into powerful teaching instruments — with recording, annotation, content library access, and automated content publishing built into a teacher-friendly interface.
- Tools
- Figma, Prototyping
- Category
- EdTech
- Services
- Product Design, Touch Interface, Teacher Tools
Problem statement
How might we make a classroom smart board as natural to teach on as a whiteboard, while every explanation is recorded, saved and ready to publish?
Empathize
Who we designed for
Teachers stand at arm's length from a large screen, mid-explanation, with a class watching. The interface has to disappear.
Teachers in the studio
Want to start writing the moment they walk in, annotate over their material and never lose work.
Students
Want to revisit a teacher's explanation after class, not only the slides.
Adda247's operations team
Wanted consistent recordings that go to publishing without manual clean-up.
Pain points
Whiteboard work was erased after each session and lost to students.
The default smart-board software was built for presentations and needed technical setup.
Preparing visuals took far longer than the class itself, with files carried in on USB drives.
Recording quality varied by teacher, which created post-production work.
The Problem
What Needed to Change
Explanations erased after every class
Teachers relied on physical whiteboards for explanations during live classes but had no way to record, save, or share their whiteboard work digitally. After each session, all the diagrams, formulas, and explanations were erased — lost forever. Students who missed a class or wanted to revisit a teacher's explanation had no way to access that content. The smart boards installed in studios were underutilized because the default software was unintuitive and required technical setup that teachers couldn't do independently.
Hours spent preparing materials
Content preparation was also a major bottleneck. Teachers spent 2-3 hours preparing visual materials for each 1-hour class — creating slides, diagrams, and handouts using desktop tools like PowerPoint, then transferring them to the classroom via USB drives. This workflow was error-prone (wrong files, formatting issues) and time-consuming. Teachers wanted to access their entire content library directly from the smart board and annotate over existing materials during class.
Inconsistent studio recordings
From a content production perspective, the company was producing thousands of hours of video content but the quality was inconsistent. Without standardized studio tools, each teacher had a different setup, recording quality varied, and there was no way to maintain brand consistency across content. The operations team spent significant time in post-production cleanup that could have been avoided with better tooling.
Design Process
How We Approached It
- Phase 01
Discovery & Research
We observed 15 teachers across different subjects — Mathematics, English, Reasoning, and General Knowledge — in actual classroom settings over two weeks.
We documented their whiteboard workflows frame by frame: how they organize space, when they erase content, how they reference previous diagrams, and what tools they reach for most often. Key insight: Math teachers needed infinite canvas and equation tools, while English teachers needed text formatting and image placement. We also interviewed the operations team about recording and publishing pain points.
- Phase 02
Information Architecture
We designed a tool hierarchy matching the natural teaching flow: write, annotate, record, and share.
The interface was organized into three zones: (1) the canvas — the primary workspace taking up 85% of the screen, (2) the tool bar — a minimal floating panel with frequently used tools, and (3) the side drawer — containing the content library, recording controls, and session management. We ensured that the most common action (writing) required zero navigation — the board is always ready to write the moment it turns on. Less frequent actions were progressively disclosed through the side drawer.
- Phase 03
Wireframing & Prototyping
We built prototypes and tested them on actual smart boards with teachers during live class simulations.
Touch target sizes were calibrated for standing-at-arm's-length interaction — everything needed to be hittable without precise aiming. We tested three toolbar configurations: fixed bottom bar, floating radial menu, and collapsible side panel. The floating toolbar won because teachers could position it near where they were writing, minimizing hand travel. We also tested palm rejection and pressure sensitivity to ensure natural writing experience comparable to physical markers.
- Phase 04
Visual Design & Handoff
The visual design prioritized maximum canvas space with minimal UI chrome.
The toolbar used large, high-contrast icons legible from across the classroom. Color palettes were limited to 8 pen colors chosen specifically for visibility on projected displays — avoiding colors that wash out under studio lighting. The recording interface was simplified to a single red button with clear status indicators visible from teaching position. We delivered 28 screens covering all tool states, recording flows, content import workflows, and export/publishing options, along with a specification document for touch latency and rendering requirements.
The Solution
What We Built
A streamlined teaching tool designed specifically for smart board interaction in classroom studios. The app boots directly into the writing canvas — teachers can start writing within seconds of entering the studio. The floating toolbar provides quick access to pens, highlighters, shapes, text, and an eraser, with the content library accessible through a swipe-in side panel. One-tap recording captures both the canvas content and the teacher's voice, automatically timestamping key moments.
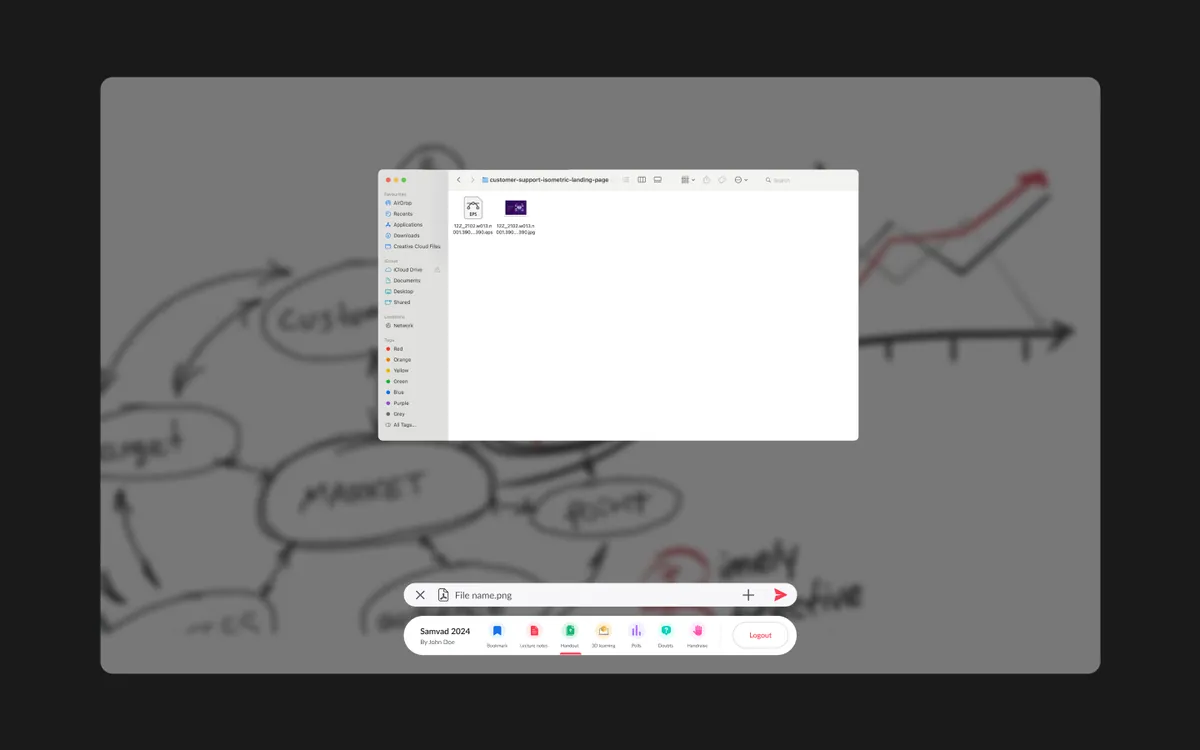
Content management is built into the workflow. Teachers can import slides, PDFs, and images from a centralized content library, annotate over them during class, and save the annotated versions back to the library. Completed sessions are automatically exported in multiple formats — video recordings go to the content pipeline for publishing, annotated PDFs are shared with students, and session summaries are generated for the content management team. Auto-save ensures no work is ever lost, even during power interruptions.
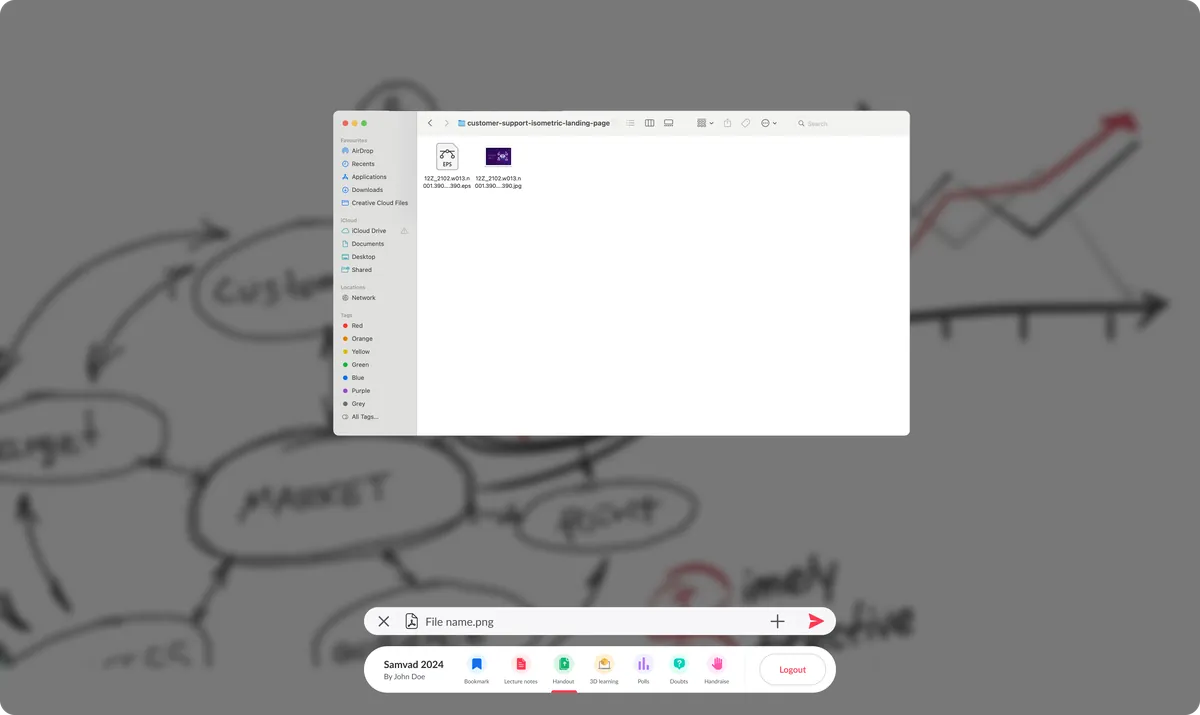
Content Library
Centralized library of slides, PDFs, and images accessible from the side panel — import, annotate, and save back without leaving the teaching flow.
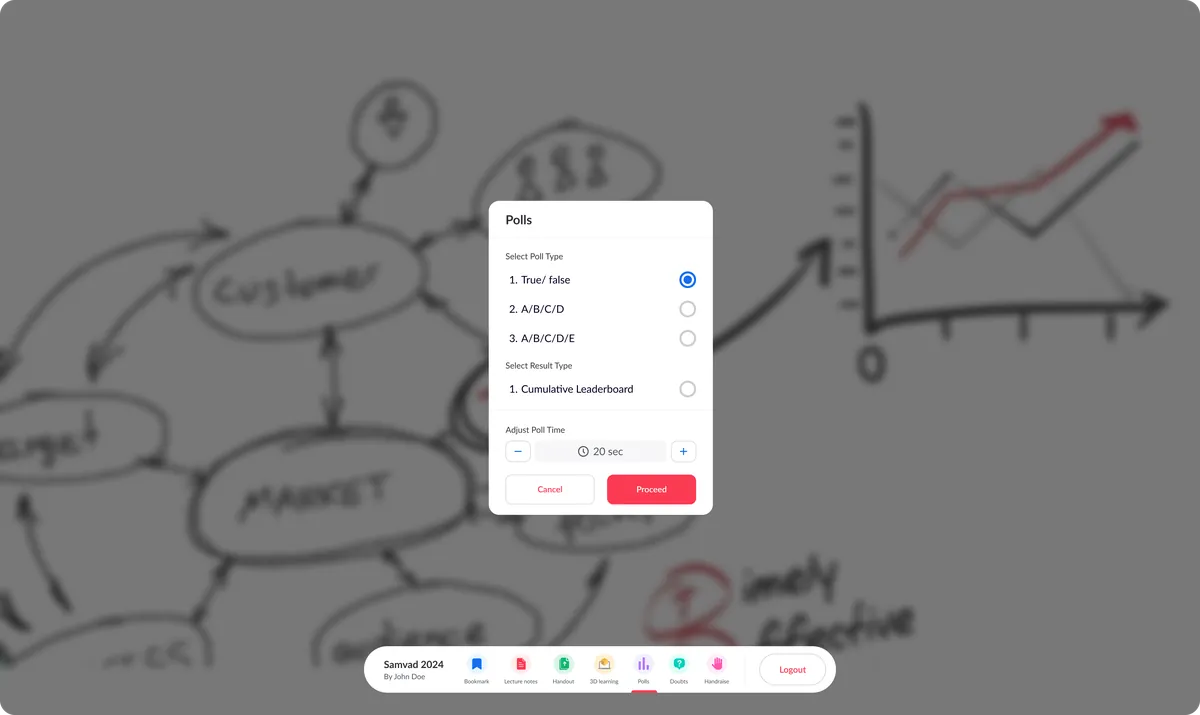
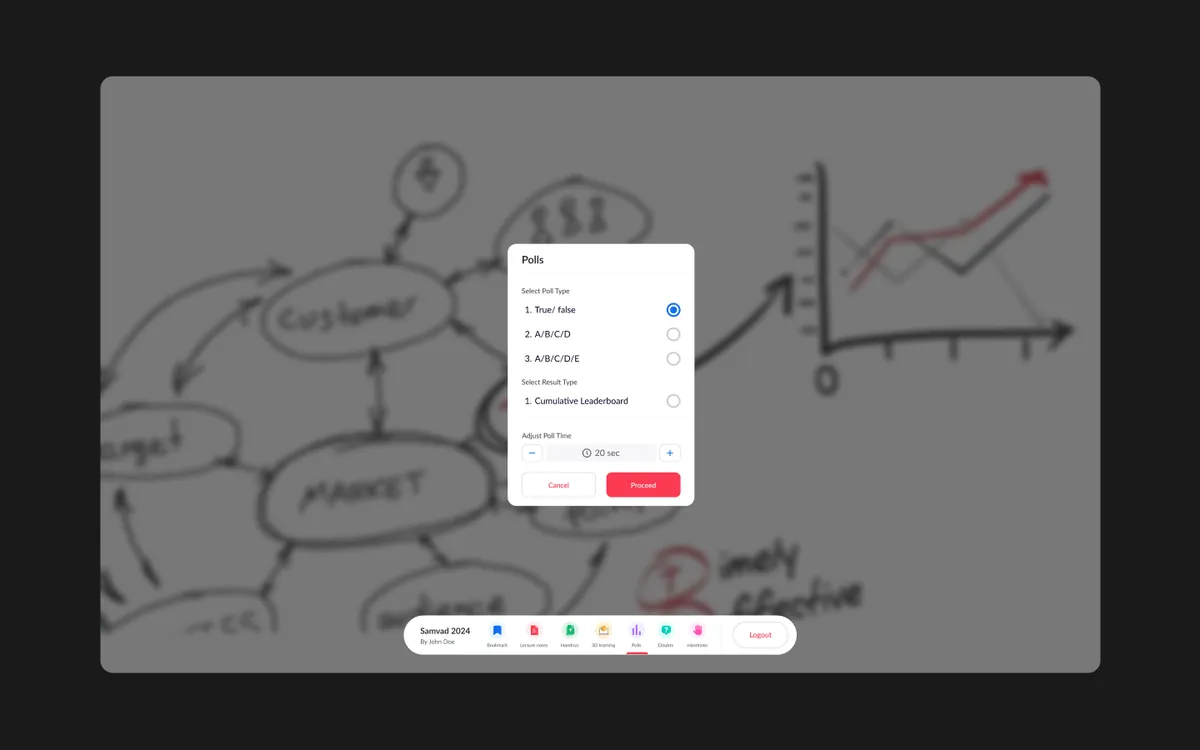
Run a poll from the board
Teachers can launch a quick poll without leaving the canvas: pick the options, set the timer and send. The board stays the centre of the class, and the result comes back to the same screen.
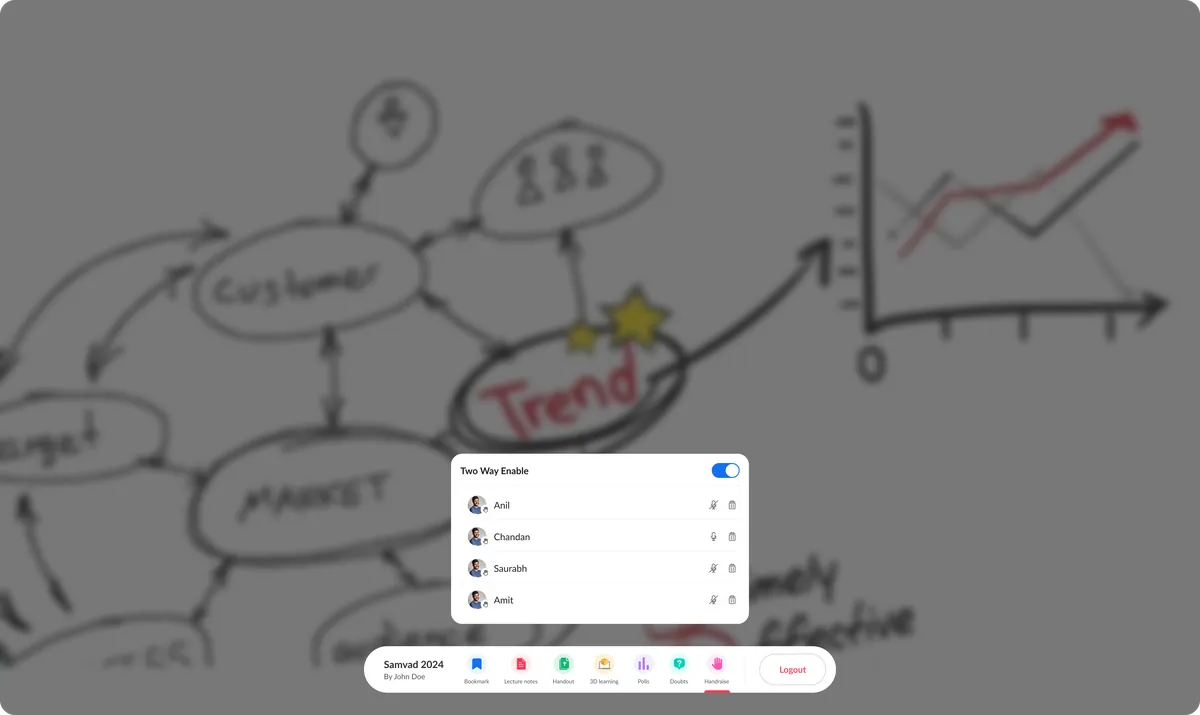
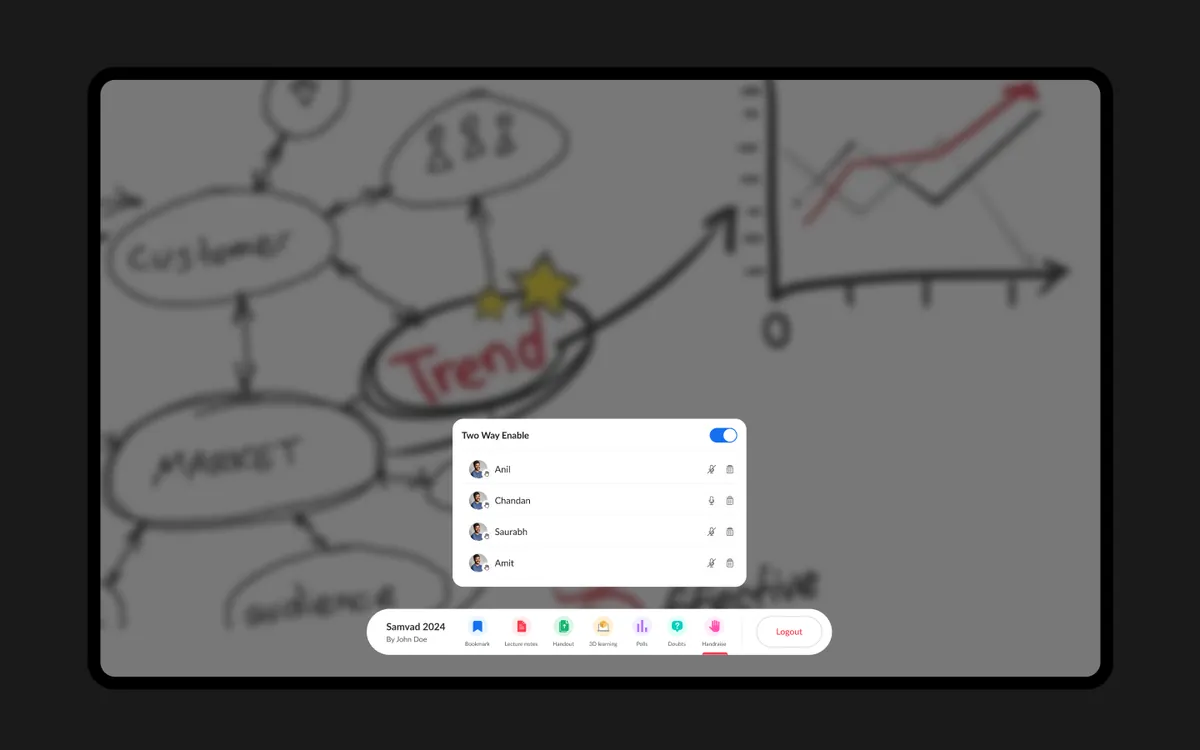
See who wants to speak
A compact panel lists the students in the session with their audio status, so the teacher can bring someone in without breaking off the explanation.
Design Highlights
Smart Board Optimization
Touch targets, pen latency, and palm rejection calibrated for large-screen standing interaction — the writing experience feels as natural as a physical whiteboard.
Recording & Playback
One-tap recording captures canvas and audio simultaneously with automatic chapter markers at page changes and key annotation moments.
Annotation Tools
Pens, highlighters, shapes, text, and equation tools designed for teaching — with infinite canvas, zoom, and the ability to annotate over imported content.
Auto-save & Sync
Continuous auto-save ensures no work is lost. Sessions sync to the cloud automatically, making content available for publishing within minutes of class completion.
Multi-format Export
One-click export to video, annotated PDF, and image formats — feeding directly into the content publishing pipeline without manual post-processing.
Gallery
The studio, on the board
Frequently asked questions
What is Studio App for Smart Boards?
In-house application enhancing teaching workflows with smart board tools — enabling recording, annotation, and seamless content sharing.
What problem did Studio App for Smart Boards solve?
Teachers relied on physical whiteboards for explanations during live classes but had no way to record, save, or share their whiteboard work digitally. After each session, all the diagrams, formulas, and explanations were erased — lost forever. Students who missed a class or wanted to revisit a teacher's explanation had no way to access that content. The smart boards installed in studios were underutilized because the default software was unintuitive and required technical setup that teachers couldn't do independently. The question we set out to answer: How might we make a classroom smart board as natural to teach on as a whiteboard, while every explanation is recorded, saved and ready to publish?
How did Designit approach Studio App for Smart Boards?
We worked in 4 phases: Discovery & Research; information architecture; wireframing & prototyping; visual design & handoff. We observed 15 teachers across different subjects — Mathematics, English, Reasoning, and General Knowledge — in actual classroom settings over two weeks.
How do you design for smart boards and large touch displays?
Design for standing at arm's length: large, high-contrast targets that do not need precise aiming, a floating toolbar that can sit near where the teacher is writing, and almost all of the screen given to the canvas.
What tools do teachers need on a digital whiteboard?
Pens and highlighters with natural latency and palm rejection, shapes, text and equations, an infinite canvas, a content library to annotate over, one-tap recording and reliable auto-save.
Why a floating toolbar?
In testing on real smart boards, teachers preferred a toolbar they could position near their writing because it reduced hand travel compared with fixed bars or side panels.
How do classroom recordings get published faster?
By capturing the canvas and audio together, adding chapter markers automatically and exporting directly to video and annotated PDF, so recordings go into the publishing pipeline without manual clean-up.
How long does a Designit engagement take?
A Design Sprint is delivered in 5 business days. Full product design engagements run 4–12 weeks depending on scope. Monthly retainers are ongoing, with one active request at a time and a 24-hour response time.
Which regions does Designit work with?
Designit is based in Noida, India, and works with clients in India and the UAE; we also take on projects for teams in the United States and the United Kingdom. All communication is in English, and invoices are in the client's market currency: INR in India, USD in the US, GBP in the UK, and USD or AED in the UAE. Working hours overlap with EST and PST for US teams and with GMT for UK teams, so scheduled calls land inside a normal working day on both sides.
Who actually works on the engagement?
Senior practitioners, from kickoff through to developer handoff. There are no account managers in the middle, no junior hand-offs once a contract is signed, and no offshore layer. Clients talk directly to the people producing the work, which is what keeps the feedback loop short enough to ship in days rather than weeks.
What tools does the studio work in?
Figma is the primary canvas, with prototyping in Figma or Protopie and engineering handoff through Figma Dev Mode. Research runs on Maze and Hotjar. Project tracking sits in Notion or Linear, and teams are welcome to work inside their own stack instead.
What are the engagement models and what do they cost?
Three models. A Sprint is a fixed scope delivered in five business days. A monthly retainer covers one active request at a time with a 24-hour response window, priced by the time it needs. A full end-to-end engagement runs four to twelve weeks depending on scope. A tailored quote follows within 24 hours of a discovery call.
What is included when the work is handed over?
Source Figma files transfer to the client, along with documented components and states. Retainers include a 24-hour response commitment and 14 days of post-handoff support for questions that surface once engineering starts building. An NDA is available on request before any material is shared.
More projects
Keep exploring
Adda247
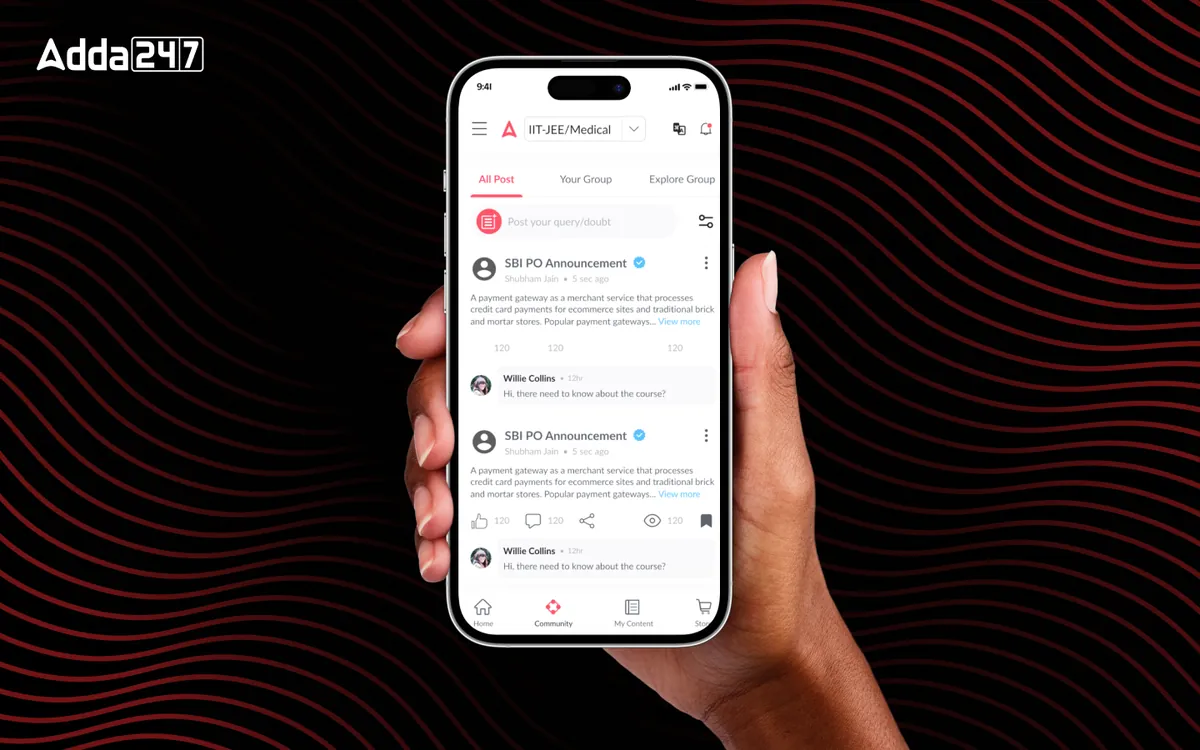
Community Module
Peer learning inside the app: a discussion feed, study groups, profiles and recognition.
View case study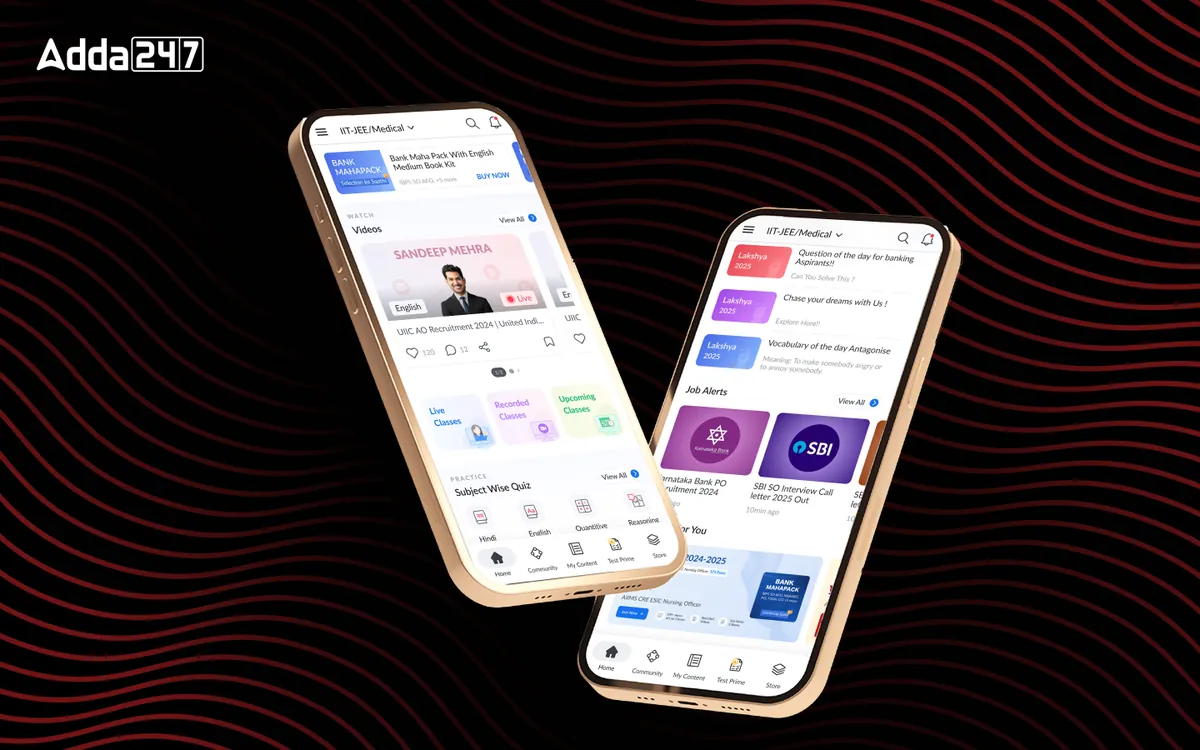
Adda247
Homepage Revamp
A cluttered feed turned into a home organised around Watch, Practice and Read.
View case study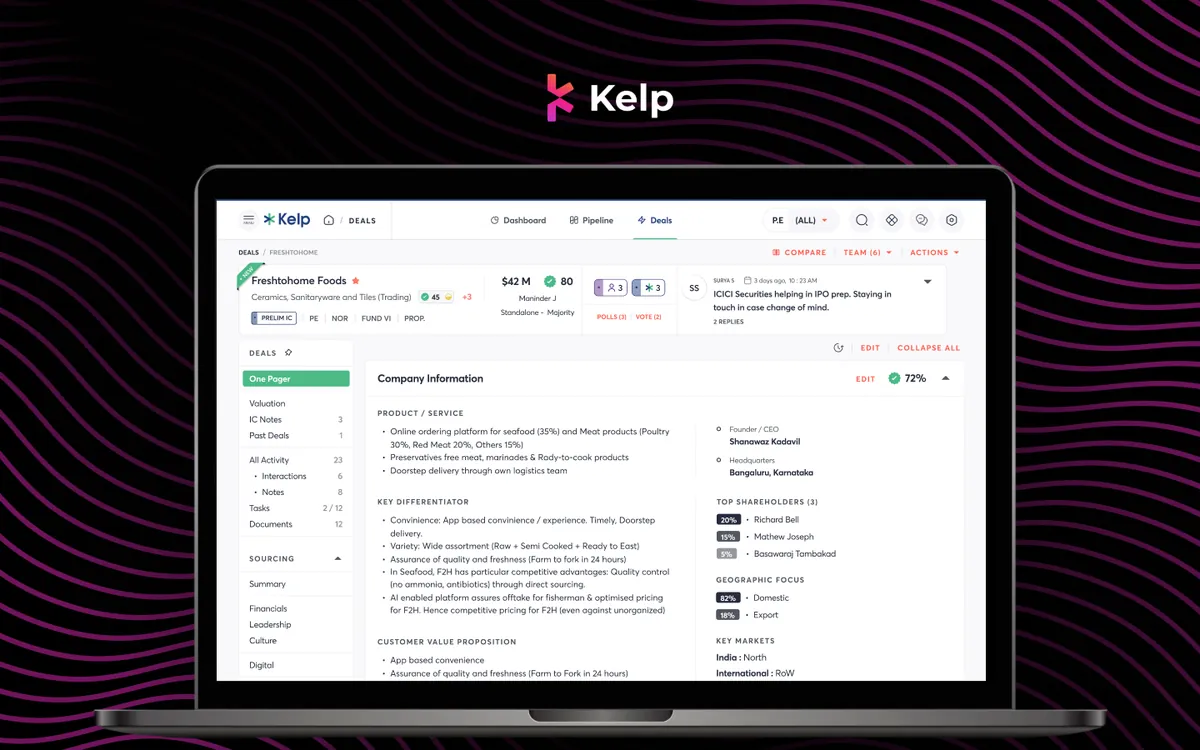
Kelp Global
Deals Module
Every deal's one-pager, IC notes, valuation and documents in one place, with companies compared side by side.
View case studyHave a similar problem?
Tell us what is not working. We'll tell you where we would start, and whether we're the right partner for it.